Friday, 20 December 2019

Colourblast - Picture Perfect

Hi team!

I have a new page for you again today with the Inspired collection watercolours and Colour Artist Inks.


I started off with  a Paige Evans cut file in a starburst pattern that I wanted to hand stitch. I used the Inspired collection watercolours to do a wash of Sunshine over the sunbeams, then Mustard, Carrot and a touch of Scarlet on the sun itself. I also used Ultramarine on the bottom third of the page.


I decided it wasn't quite strong enough, so I highlighted the same areas with Citrus, Spice and Sunburnt Colour Artist Inks, plus Calypso on the sea.


I had a second cut file that I wanted to back, so I offset it, and then went back to my watercolours 😁


While everything was drying I stitched the background...time to add the photo and embellies and done!


I'm so happy with this one - I hope you like it too 💖

Thanks for joining me here!


Colourblast - An Amazing Day

Hi All!

I have a new page today for you that fits into the new challenge using cool colours - have you played along yet? It has now been extended until November 10th.


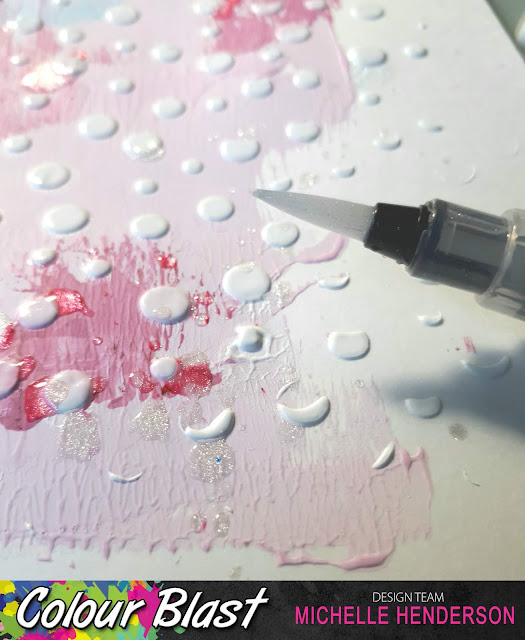
I started by using a cut file as a stencil all over a page, and then applied White Heavy Gesso through it on to another page.


I love the texture that this creates once its dry 💓

I took out 4 of my favourite Colour Shimmer Dust in Paris, Lush, Peacock and Passion, then sprayed the gessoed page very lightly with water then sprinkled a little of the powders here and there.


I touched it up here and there with a brush and the same colours that I had mixed on a messy mat. I had a little colour left over so waste not want not 😉


At this stage, I felt that it would be too much to use the full page as a background, so I cut up some leaf clusters and singles and used them as a design element.

I created shadowing under the leaves with the Water Colour Inspired collection.


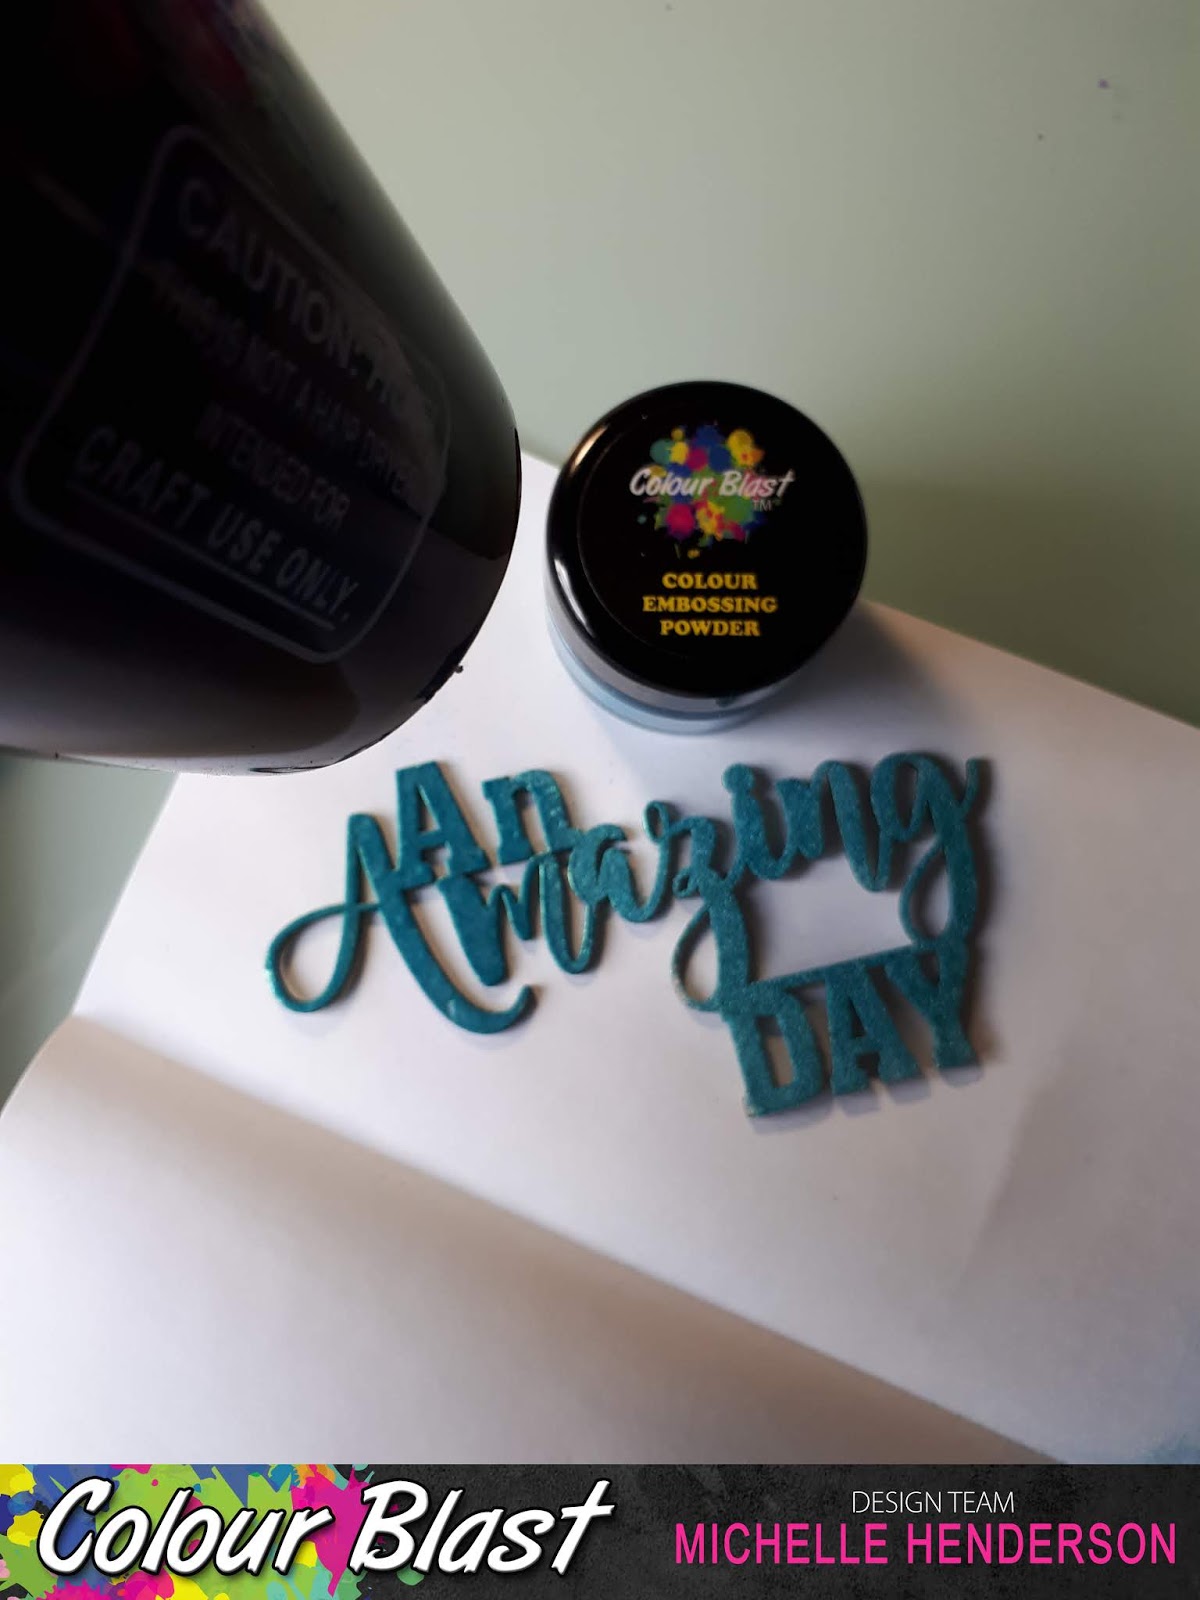
The title was embossed with Colour Embossing Powder in Deep Water.


Finally I added my photos and a few bits and pieces from one of my favourite Cocoa Vanilla collections. I also used the tag 💜


I hope you like it as much as I do!


Colourblast - Be True to you

Hello all!
I have a quick project for you here today.

Here's a little preview..😉 


I started out with a couple of my favourite Colour Artist Inks  - Spice and Cranberry. I thinned them down a lot as I wanted a watercolour look.
I combined them to get the colour I wanted, then smooshed them on to my cardstock.


The next step was to mix a little Colour Artist Ink in Mermaid in with some moulding paste and apply it through a stencil.


Before it dried I dropped a little Bling Colour Embossing Powder on to the paste, then heated it to activate it at the same time as drying the paste.


After that I used some papers from my stash to put the whole page together...


See? Told you it was a quick one today! 
Sometimes we need to just not overthink things...

Anyway, hope you like it!


Colourblast - Sweet Little Sucker

Hi all you crafty people!

My latest layout started out as a grid pattern, but I just couldn't bear to cover too much of the background 😁

Here's a wee taste...just look at that sparkle!


I used Colour Artist Inks to tint some Heavy White Gesso, starting with Oasis. I brayered a section with this, applying it quite heavily as I wanted to create some texture with it.


I added some Colour Shimmer Dust in Peacock, and mixed it a little, but not fully so there would be some striations. 


For the pink parts of the grid, I used Slipper Colour Artist Ink and Lollipop Colour Shimmer Dust. 


After that, I used plain Heavy White Gesso through a stencil for added texture.


As a final touch for the background, I splattered a little of the clear Colour Shimmer Marker ❤


I put everything together using some Cocoa Vanilla that was on my desk. I so love this photo of my great niece!


Thanks for visiting!

Colourblast - A beautiful moment captured

Hi my (Bee) Arty friends!

I have an great new page for you today - I'm so in love with it!!


What do you think so far?

I started off with Colour Artist Inks in Sunburnt and Cranberry, both of which I thinned down with so much water as I only wanted a pale colour to match the colour of my cut file. I applied it on the diagonal using smooshing and drips initially, then a brush to draw it out a little. 


I grabbed my Colour Shimmer Powder in Navy and mixed it with water, and lightly brushed some towards the edges of where the cut file was going.


I had some left over, so I dragged a flower mask through the mix and stamped with it here and there. 

At this stage I felt it would be a little strong still, so I drybrushed some Heavy White Gesso very lightly over it with a fan brush. I loved how that worked!


The last part of my background was a thin coat of Blush Colour Paste through a stencil at 3 different points.


I added my cut file, photos and embellies then, all except the bow was Cocoa Vanilla Midnight collection. 

Here's the final page 💕


Thanks for joining me today!


Thursday, 5 December 2019

Jet Setter

Hello to all my foxy friends, I have a layout to share with you today using some of the wonderful travel themed perspextives ✈

My daughter recently left to study for six months in Denmark - the other side of the world from us waaay down south in New Zealand...but it's so exciting for her, and she's really hoping for a white Xmas 🤞

I snapped this photo just before she left (and before I started the tears!) which will be the first of many she has shared with me.

The Jet Setter title was just perfect - she's doing a bit of sightseeing wile she's away of course!


I'm really going to need to refresh my supply of these cute little globes as well...


I teamed them up with a cut file from Confessions of a Paper Addict and the Out and About collection from Pinkfresh - the colours are perfect together 💚💙

This was a really fun layout to put together, I hope it gives you some inspiration ...see you next time!